How to Do Kitchen Tap Repair Like a Pro
- thewatermanplumbin
- Aug 22, 2025
- 3 min read
Have you ever been in the middle of cooking dinner, only to hear your kitchen tap drip… drip… drip?
That sound isn’t just annoying—it’s wasting water and money! The good news? Many kitchen tap repair jobs are easier than you think, and you don’t always need to call a plumber.
In this blog, we’ll show you simple steps to fix common tap problems, plus tips to keep your faucet working like new.
Why Kitchen Taps Leak or Stop Working
Before you start kitchen tap repair, it’s good to know what’s going wrong. Some common kitchen tap problems include:
Leaking Tap – Usually caused by worn-out washers or O-rings.
Low Water Pressure – Could be a clogged aerator or filter.
Loose Handle – Happens when screws or fittings become loose.
Rust or Mineral Build-Up – Comes from hard water over time.
Knowing the cause will help you fix it faster.
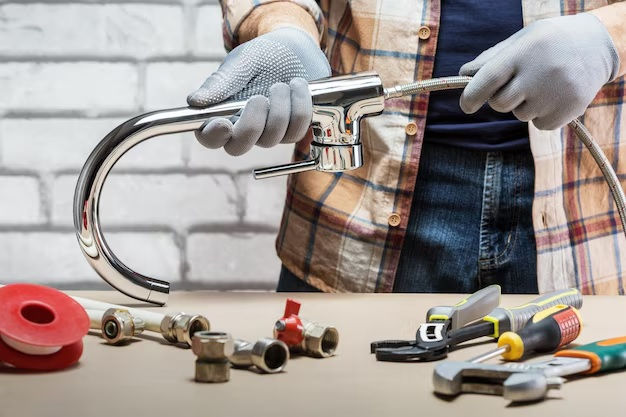
Tools You Might Need
You don’t need fancy tools for a simple kitchen tap repair. Keep these handy:
Adjustable wrench or spanner
Screwdriver (flat head or Phillips)
Replacement washer or cartridge
Plumber’s tape
Small bowl and towel (to catch drips)
Pro tip: Turn off the water supply before you start any work. This will save you from flooding your kitchen!
Step-by-Step Kitchen Tap Repair
Let’s go through a common problem—a leaky tap.
Step 1: Turn Off the Water
Find the small valves under your sink and turn them clockwise to stop the water flow.
Step 2: Plug the Sink Drain
Use a stopper or a cloth so small parts don’t fall down the drain.
Step 3: Remove the Tap Handle
Use a screwdriver to loosen the screw under the handle and lift it off.
Step 4: Check the Washer or Cartridge
A worn washer or cartridge is often the reason for leaks. Take the old one to a hardware store so you can get the exact replacement.
Step 5: Replace and Reassemble
Put in the new washer or cartridge, reattach the handle, and tighten all screws.
Step 6: Turn On the Water and Test
Slowly turn the water supply back on. Check for leaks. If everything is dry, you’ve completed a kitchen tap repair!
Tips to Prevent Tap Problems
A bit of maintenance can keep your kitchen tap trouble-free for years.
Clean the Aerator Monthly – Unscrew and rinse it to keep water flowing well.
Avoid Over-Tightening Handles – This can damage washers.
Wipe Off Mineral Deposits – Use vinegar to remove hard water stains.
Check for Small Leaks Early – A tiny drip can turn into a big repair bill.
When to Call a Plumber
Some repairs are simple, but you should call a professional when:
The leak persists even after replacing the washers or cartridges.
The pipes under the sink are damaged.
You see rust spreading inside the faucet.
Sometimes, replacing the whole tap is more cost-effective than constant repairs.
Remember, regular maintenance is key. A little care now can save you from bigger problems later, making your kitchen tap last longer and work better every single day.
Final Thoughts
A leaky kitchen tap doesn’t have to ruin your day—or your water bill. With a few tools and simple steps, you can handle most kitchen tap repairs yourself. Not only will you save money, but you’ll also enjoy the satisfaction of fixing something on your own.
So next time you hear that annoying drip, grab your tools and give it a try or you can always call a professional for kitchen tap repair in London . Your future self—and your wallet—will thank you!


Comments